Dutch Elm Disease is a destructive fungus that kills elm trees. This 72tree.com guide covers how to identify, manage, and prevent it.

Key Takeaways
• Dutch Elm Disease is primarily caused by the fungal pathogens Ophiostoma ulmi and Ophiostoma novo-ulmi, and its spread is significantly facilitated by elm bark beetles.
• Early detection of symptoms, such as wilting leaves and brown streaks in sapwood, is crucial for managing the disease effectively and preventing widespread devastation.
• Preventive measures, including tree inoculation with fungicides and community engagement in management efforts, are essential for safeguarding elm populations from Dutch Elm Disease.
Understanding Dutch Elm Disease
Dutch Elm Disease is caused by the invasive fungal pathogens Ophiostoma ulmi and Ophiostoma novo-ulmi, with the latter being the most prevalent today. The disease was first described in the Netherlands around 1920, though it is believed to have originated in Asia. This invasive fungus leads to the wilting and death of elm trees, significantly reducing their populations and impacting biodiversity. The historical event known as the ‘Elm Decline’ in northwest Europe around 4000 BC was also caused by similar diseases, highlighting the long-standing battle between elm trees and fungal pathogens.
Since its introduction to regions like Minnesota in the early 1960’s, Dutch Elm Disease has profoundly impacted elm populations. The Dutch elm disease spread rapidly, causing symptoms within weeks to a couple of years, depending on the health of the tree. During the summer, fungal spores grow within the tree’s vascular system, leading to characteristic symptoms of the disease.
Elm bark beetles, including the native elm bark beetle, are significant vectors for spreading Dutch Elm Disease. These beetles carry the fungal spores from infected trees to healthy ones, contributing to the rapid proliferation of the disease. Knowledge of the biology and history of Dutch Elm Disease helps in creating effective management and prevention strategies.
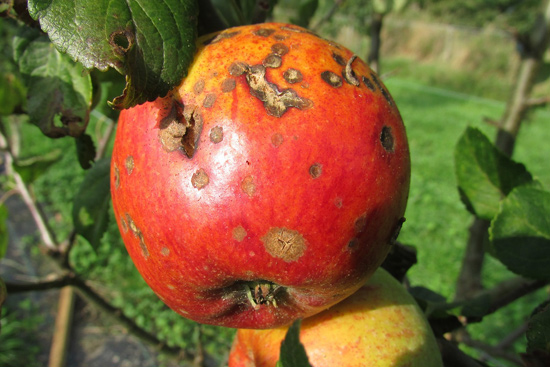
Identifying Symptoms of DED
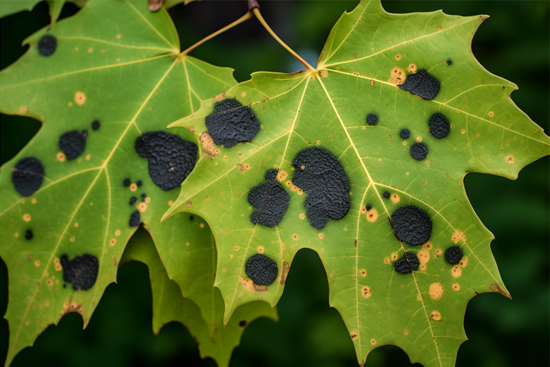
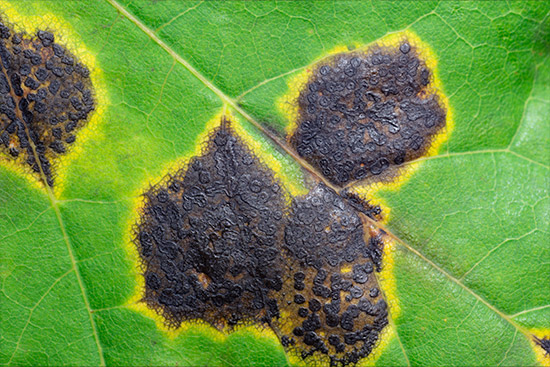
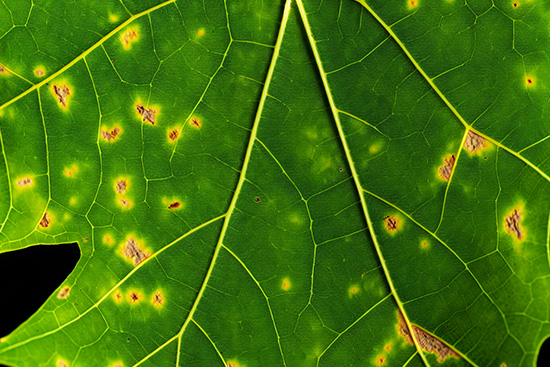
Detecting the early symptoms of Dutch Elm Disease enables timely intervention. One of the first signs to look for is the yellowing and wilting of leaves, often starting in late spring and summer. The leaves may turn from a dull green to yellow, indicating the onset of the disease. This initial phase is known as ‘flagging,’ where a small patch of wilting foliage appears, gradually expanding towards the trunk as the infection progresses.
In addition to wilting leaves, infected branches may exhibit brown streaks in the sapwood, which can be observed when the bark is removed. These streaks are a telltale sign of the disease and highlight the need for immediate action. Catching the disease at this stage can make a significant difference in managing its spread and impact.

Prompt detection and intervention are key to battling Dutch Elm Disease. Identifying these symptoms enables tree owners and care professionals to manage and treat infected trees, potentially preventing complete devastation.
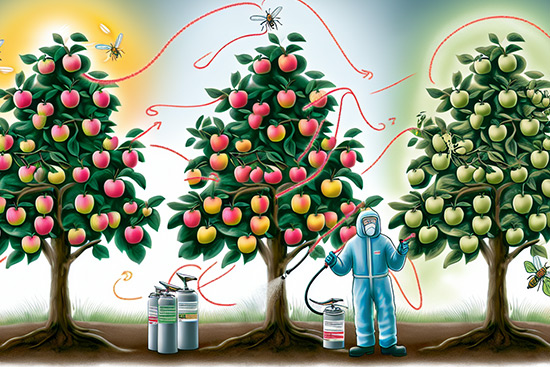
How Dutch Elm Disease Spreads
The spread of Dutch Elm Disease is primarily facilitated by elm bark beetles, including the native elm bark beetle and the banded elm bark beetle. These beetles carry fungal spores from infected trees to healthy ones, initiating new infections through their feeding activities. The fungus survives in the wood of infected trees, and as beetles feed, they transfer the spores, thus spreading the disease.
Another significant mode of transmission is through root grafts. When adjacent elm trees’ root systems are interconnected, the disease can spread quickly from one tree to another. This underground pathway allows the fungus to move rapidly, infecting multiple elm trees in a short period. Pruning of elm trees is restricted during specific months to reduce the risk of attracting beetles.
Practical measures to control the spread include the removal of infected trees and proper disposal of infected wood. Understanding the spread of Dutch Elm Disease allows communities to implement strategies to curb its proliferation and protect healthy elm populations.
Vulnerable Elm Species
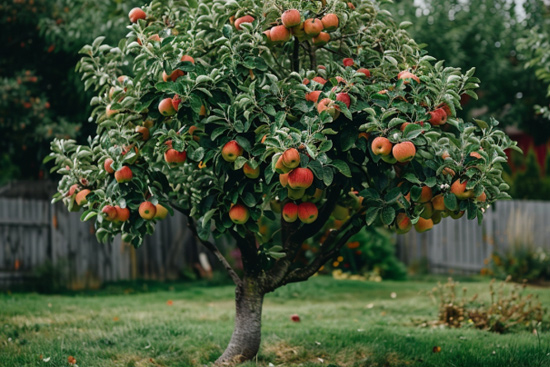
Certain elm species are more vulnerable to Dutch Elm Disease than others. For instance, the American elm is one of the most affected species. Other species, like the red elm and rock elm, are also significantly impacted. With their majestic canopies and historical significance, these species have suffered greatly due to the disease.
In contrast, Asiatic elms, such as Chinese, Japanese, and Siberian elm, have shown higher resistance to Dutch Elm Disease. Hybrid Asian elms have been bred specifically to exhibit resistance to this devastating disease. Some notable resistant cultivars of American elm include Princeton and Prairie Expedition, which, though less susceptible, are not completely immune.
Recent developments in breeding programs have led to the introduction of ten resistant cultivars of American elm. However, these resistant varieties may require significant pruning in their early years to establish an optimal structure. Knowing the susceptibility and resistance of different elm species aids in effective management and replanting efforts.
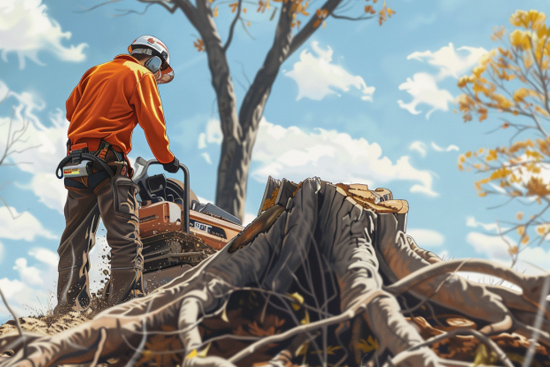
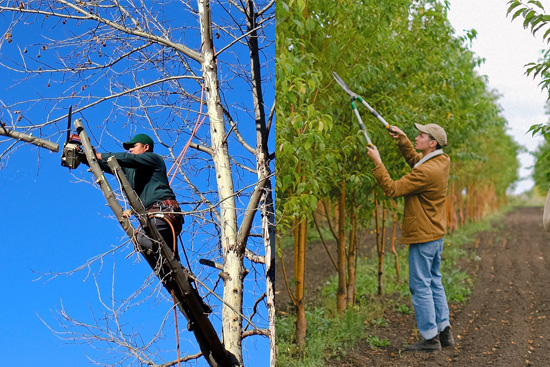
Managing Infected Trees

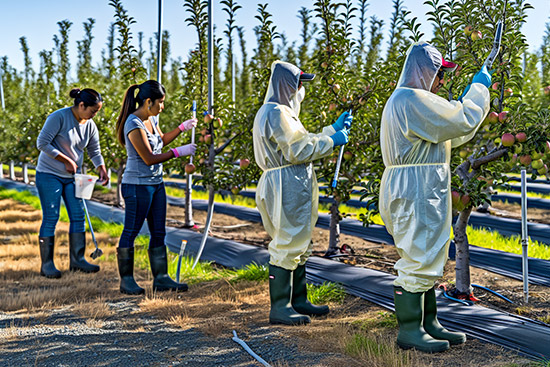
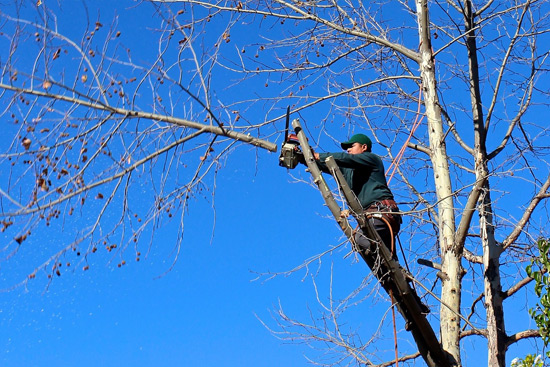
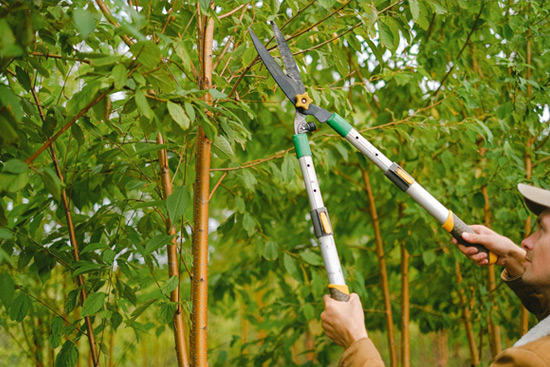
Managing infected trees involves a combination of early detection, proper pruning, and appropriate disposal. Infected branches should be removed before the infection reaches the tree’s main stem, ideally cutting at least 5 feet, preferably 10 feet, below the last sign of streaking in the sapwood. Fungicide treatments can also be applied, although they are not effective against infections spread through root grafts.
Community-wide management programs are essential for controlling Dutch Elm Disease. These programs include preventative actions, sanitation measures, and early pruning of infections. Sanitation measures involve the early detection, isolation, removal, and proper disposal of weakened or dead trees to remove potential beetle breeding sites and sources of the DED fungus.
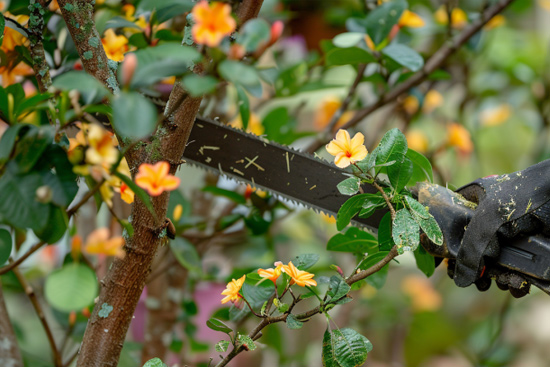
Pruned elm wood must be disposed of properly, either by chipping or de-barking and burying it to prevent the spread of the disease. Fungicide injections can protect elm trees from infection when done properly and repeated every 1-3 years, although they are not effective against root graft infections. Adhering to these management strategies allows communities to combat Dutch Elm Disease and protect their elm populations effectively.
Preventive Measures
Preventive measures are essential to safeguard healthy elm trees from Dutch Elm Disease. Here are some effective methods:
1. Inoculation of elm trees with fungicides such as Arbotect 20-S can provide protection for up to three years.
2. Use of fungicides with active ingredients, such as thiabendazole and propiconazole, which show effectiveness in managing fungal issues.
3. Ensure that a certified arborist supervises the fungicide injection procedure to guarantee proper treatment.
In addition to chemical treatments, planting disease-resistant varieties of elm, such as Asiatic elms, lacebark elm (Ulmus parvifolia), and other resistant cultivars, can help reduce the impact of Dutch Elm Disease.
Mechanical trenching can effectively prevent the spread of Dutch Elm Disease through root grafts, safeguarding healthy trees. Implementing these preventive measures helps communities ensure the longevity and health of their elm populations.
The Role of Elm Bark Beetles

Elm bark beetles play a critical role in the spread of Dutch Elm Disease. The native elm bark beetle, smaller European elm bark beetle, and banded elm bark beetle are known to carry the Dutch Elm Disease fungus on their bodies. These beetles contribute to new infections by carrying fungal spores and dropping them while feeding on healthy trees.
Elm bark beetles lay their eggs under the bark of dead or dying trees and in firewood or logs that still have bark. Adult European elm bark beetles emerge in the spring to feed on healthy tree twigs, particularly attracted to stressed or dying elms. These beetles can produce multiple generations in a single year, typically ranging from two to three generations.
Knowledge of the biology and behavior of elm bark beetles is vital for creating effective management strategies. Targeting beetles and their breeding sites helps communities reduce the spread of Dutch Elm Disease and protect healthy elm trees.
Regulatory and Community Efforts
Local regulations play a crucial role in managing Dutch Elm Disease. Infected elm trees cannot legally remain on any lot as per city ordinances. For instance, Oregon has declared an emergency quarantine regarding elm wood, requiring it to be chipped or de-barked and buried to prevent further spread. Local authorities have the legal power to inspect and destroy elm trees suspected of infection to prevent disease spread.
Community involvement is equally important. Local community organizations often collaborate to raise funds for inoculating elm trees and replanting efforts after removals. Fundraising and initiatives for tree inoculation are vital components of a successful community-wide management program.
Human activities like improperly disposing of infected wood, for example, can exacerbate the spread of Dutch Elm Disease. Adhering to regulations and participating in community efforts allows individuals to contribute to effective disease management.
Biological Insights into DED
The fungal pathogen Ophiostoma novo-ulmi, responsible for Dutch Elm Disease, has a complex genetic makeup. Its genetic capacity includes around 310 enzymes that break down carbohydrates, aiding in its pathogenicity.
Fungal spores travel through the elm tree. They are transported upward by the water flow in the vascular system. Trees produce structures known as tyloses to try and stop fungal movement; Ophiostoma novo-ulmi’s evolution has been influenced by acquiring genes from its close relative Ophiostoma ulmi through hybrid formation. The fungus also utilizes terpenes from elm trees, which may play a role in its pathogenic interactions with the host.
Knowing these biological mechanisms helps create effective strategies to combat Dutch Elm Disease. Advanced knowledge of the fungus’s genetics and interactions with elm trees can lead to more targeted and effective treatments.
Research and Future Directions
Ongoing research is essential for combating Dutch Elm Disease. Monitoring the genetic diversity of Ophiostoma novo-ulmi populations is critical due to their rapid evolution and adaptation. Current genetic studies suggest that elm resistance to Dutch Elm Disease is likely controlled by multiple genes. Biotechnology may enhance our understanding of elm resistance processes, enabling the deployment of trees with durable resistance.
Initiatives for elm breeding and restoration are currently being pursued in both Europe and North America to combat Dutch Elm Disease. The phenomenon of phenotypic plasticity in wych elms indicates that their resistance to disease can vary depending on environmental conditions. Research shows that the timing of wood formation in elms directly influences their susceptibility to Dutch Elm Disease.
Continuing to explore these areas helps develop more effective strategies for managing and preventing the disease.
Additional Resources
Several organizations and resources are available to those seeking more in-depth information on Dutch Elm Disease. The U.S. Forest Service provides essential guidelines for understanding how to manage and mitigate the impact of the disease. Plant pathology references are also valuable tools for professionals studying the biology of the fungi causing Dutch Elm Disease and its management techniques.
Connecting with local certified arborists can provide personalized advice and practical solutions for dealing with Dutch Elm Disease within specific communities. Utilizing these resources enables tree care professionals and tree owners to better understand and manage the disease.
Dutch Elm Disease Summary

In summary, Dutch Elm Disease is a formidable foe that requires a comprehensive approach to management and prevention. By understanding the biology of the disease, recognizing early symptoms, and implementing effective management and preventive measures, we can protect our cherished elm trees. The role of elm bark beetles, local regulations, community efforts, and ongoing research are all critical components of a successful strategy.
We must continue to work together, leveraging scientific advancements and community involvement, to combat Dutch Elm Disease. By doing so, we can ensure the longevity and health of our elm populations for generations to come.
Dutch Elm Frequently Asked Questions
What are the early symptoms of Dutch Elm Disease?
The early symptoms of Dutch Elm Disease include yellowing and wilting leaves, which typically begin in late spring to summer. Infected branches may also show brown streaks in the sapwood when the bark is removed.
How does Dutch Elm Disease spread?
Dutch Elm Disease spreads primarily through elm bark beetles that transport fungal spores from infected to healthy trees and through root grafts connecting neighboring elms. This dual mode of transmission underscores the importance of monitoring and managing both beetle populations and tree health.
Which elm species are most vulnerable to Dutch Elm Disease?
The American elm is particularly vulnerable to Dutch Elm Disease, along with the red elm and rock elm. In contrast, Asiatic elms like Chinese, Japanese, and Siberian elms display greater resistance to the disease.
What measures can be taken to manage infected trees?
To effectively manage infected trees, early detection and proper pruning of infected branches are crucial, along with appropriate disposal methods. Additionally, fungicide treatments may be beneficial, but they do not address infections spread through root grafts.
How can communities help prevent the spread of Dutch Elm Disease?
Communities can effectively prevent the spread of Dutch Elm Disease by engaging in fundraising, tree inoculation, and replanting initiatives while also ensuring compliance with local regulations and the proper disposal of infected wood. These collective efforts are vital for protecting local elm populations.
This article was first published on: https://www.72tree.com/dutch-elm-disease/