Can you plant a tree in winter? Absolutely. Conditions like soil temperature and tree type dictate successful winter planting. This guide offers step-by-step insights on how to grow resilient trees during the colder months, ensuring your garden remains dynamic throughout the year.

Key Takeaways
• Winter tree planting is feasible with the right preparation and species selection. Focus on deciduous trees in dormancy and avoid evergreens, which are less adaptable to cold soil.
• Soil temperature plays a critical role in tree health during winter planting, and proper timing within winter phases is essential for root establishment before the ground freezes.
• Post-planting care, including adequate mulching, watering, and protection against winter elements, is crucial for the survival and growth of newly planted or transplanted trees.
Winter Planting Possibilities
Have you ever imagined your garden flourishing with life, even in the heart of winter? While it may sound like a horticultural paradox, winter tree planting is not only possible but can be remarkably successful. With the proper preparation and mindful selection of tree species, your winter garden can become a testimony to life’s tenacity.
The journey starts by grasping the distinct tree types and how they behave in winter. Here are some key points to consider:
• Deciduous trees enter a state of dormancy during winter.
• Evergreen trees have different requirements and may not go completely dormant.
• Soil temperature is pivotal for successful winter tree planting.
Let’s explore these fascinating aspects in more depth.
Deciduous Trees and Dormancy

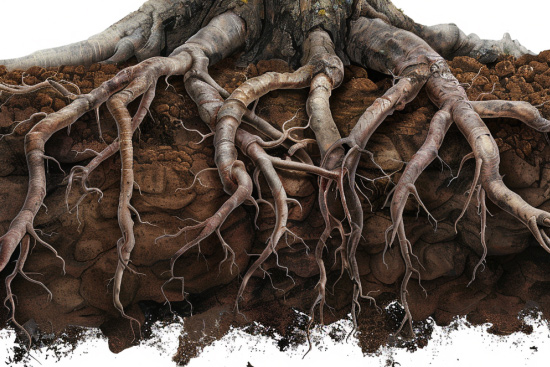
One might wonder why deciduous trees stripped of their lush foliage would be ideal candidates for winter planting. The secret lies in their unique biological rhythm. As a deciduous tree loses its leaves, it enters a state of dormancy, a sort of hibernation where it can focus on root development. This makes it the perfect time to plant deciduous trees, ensuring a strong foundation for future growth.
This dormant period allows deciduous trees to establish their roots during winter, provided the soil temperatures are above freezing. The tree thus lays a strong foundation for the arrival of spring, ready to burst into life with the first touch of warmth. Their dormant state renders deciduous trees an excellent fit for winter planting.
Evergreen Considerations
When it comes to winter planting, it’s important to avoid planting evergreen trees, as they present a different set of considerations compared to deciduous trees. Unlike deciduous trees, evergreens, including evergreen plants, require time to establish roots before the ground freezes. This limits their suitability for winter planting in regions with soil prone to freezing.
For successful planting, evergreens need the soil temperature to be at least 60 degrees Fahrenheit to ensure they absorb enough nutrients and establish before the ground freezes. Additionally, applications of anti-desiccants can be beneficial for broadleaf evergreens, reducing winter dehydration caused by wind and sun and preserving the moisture in their needles.
Soil Temperature and Tree Health
Soil temperature is critical for successful winter tree planting, regardless of tree type. Trees require a minimum of six weeks of conducive soil temperatures to establish roots before the ground becomes too hard due to freezing.
It’s interesting to note that soil does not freeze immediately at 32 degrees Fahrenheit; it requires a period of consistent freezing or sub-freezing temperatures to become solidly frozen. Ensuring adequate protection from severe colds is vital for root health, emphasizing the importance of soil temperature above critical freezing points for successful winter planting.
Timing Your Winter Tree Planting

Winter isn’t merely a season; it comprises a sequence of conditions, each with distinct subtleties. Timing your winter tree planting correctly can make all the difference. Each phase, from the milder early winter to the harsh late winter, requires a unique approach.
Planting trees during the early winter can be similar to fall planting conditions, providing an opportunity to establish before deep frosts. However, it’s important to note that it’s still possible to plant trees in winter, especially in areas with milder climates. In areas with harsher winters, it is recommended to plant cold, hardy trees in late winter or wait until the emergence of frost-free weather in early spring.
Early Winter Advantages
Early winter carries a certain charm for tree planting, especially when it comes to trees in the winter. Deciduous trees benefit from early winter planting as they are dormant at this time, allowing them to focus on root growth with the soil remaining warm enough to facilitate this development.
Besides the ideal growing conditions, early winter’s lower temperatures and increased precipitation reduce the need for supplemental watering, easing plant care efforts. Furthermore, trees established in the early winter period can better withstand future conditions of heat and drought, thanks to extra months of root development before the onset of summer. Regular monitoring of soil temperatures is recommended to ensure they are above 50° F for successful early winter planting.
Late Winter Preparation
While late winter offers a different set of challenges, successful tree planting is still possible with the right preparation and care. Proper mulching during late winter planting is critical to help maintain soil moisture and provide temperature insulation, which in turn promotes consistent soil temperatures necessary for root growth.
It’s also recommended to avoid planting if heavy snow or blizzard conditions are expected. After planting, it is essential to water the tree weekly, taking rainfall into account, until the ground freezes to support root development.
Selecting the Right Species for Winter Planting
Selecting the most suitable tree species for winter planting is a vital step towards guaranteeing prosperous growth. From cold-hardy deciduous trees to sensitive evergreen species, understanding the nature and needs of different trees can guide you in making an informed decision.
Certain species, such as oak, hawthorn, and crabapple, are known to be more tolerant of cooler temperatures during winter planting. Conversely, some species, particularly non-native ones, may be more sensitive to a region’s climate and are generally less suitable for winter planting.
Cold Hardy Varieties
Cold-hardy deciduous trees are excellent candidates for winter planting. Species such as the Brandywine Maple, Cleveland Pear, and River Birch are recommended for winter planting because of their cold hardiness.
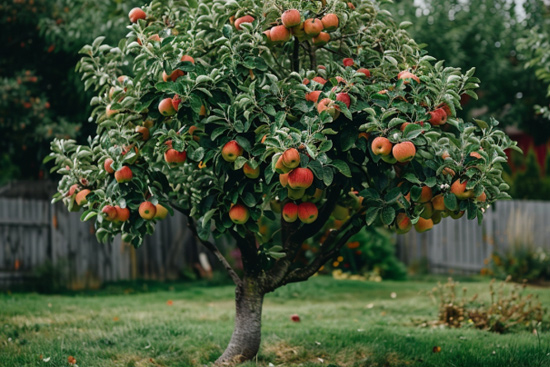
Other deciduous trees that are robust and suitable for winter planting, such as elms, maples, oaks, and beech trees, can provide beneficial shade in warmer seasons. There are also flowering trees that exhibit high resilience to cold temperatures, making them favorable candidates for winter planting, including the Eastern Redbud, Pink Dogwood, and Royal Purple Smoke Tree.

Avoiding Sensitive Species
While some tree species can tolerate cold winter conditions, others are more sensitive and require careful consideration. Evergreen trees, for instance, are less adaptable to winter planting, as they require the soil to be no cooler than 60 degrees Fahrenheit to allow for adequate nutrient absorption before the ground freezes.
Flowering trees such as Cherry, Red Maple, American Elm, and Bradford Pear are at higher risk of damage from snow and ice accumulation on branches, buds, and flowers during late winter cold snaps. Similarly, marginally hardy shrubs like certain hydrangeas and early-leafing plants like roses are susceptible to tip dieback from extreme cold conditions.
Caring for Newly Planted Trees During Winter
Ensuring that you appropriately care for a newly planted tree during winter is crucial to its survival and growth. This involves correct mulching, watering, and protection from harsh winter elements.
These practices safeguard the tree from harsh winter conditions and also contribute to soil temperature maintenance, root growth promotion, and deterrence of pests and animals that could harm the tree.
Mulching and Watering
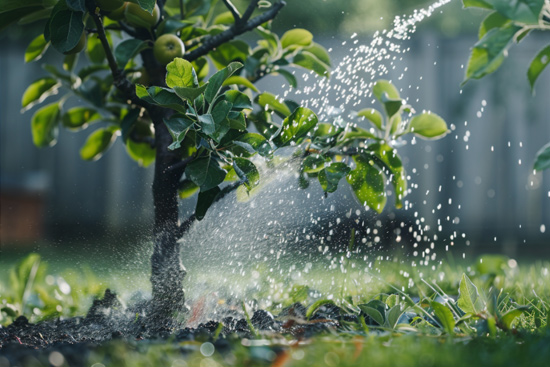
Mulching and watering play a significant role in successful winter tree planting. Applying no more than 2 inches of organic mulch beneath the tree’s drip line during late fall to early winter can help insulate the soil and tree roots against extreme temperatures and reduce water loss from the soil.
Deep watering of trees after planting in winter is necessary, even for dormant deciduous trees, to provide sufficient hydration for root establishment. Newly planted trees and shrubs should have their roots covered with mulch and watered before the ground freezes to reduce the risk of frost damaging the roots.
Shielding from Winter Elements
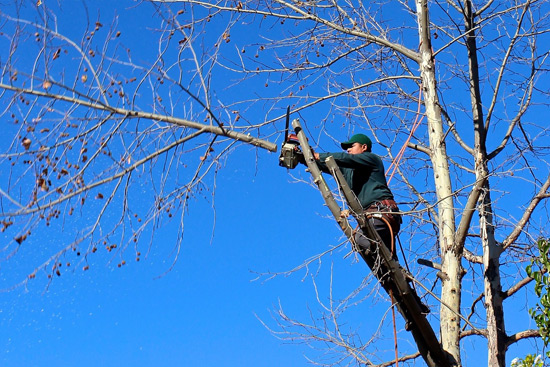
Protecting your trees from harsh winter elements is another crucial aspect of winter tree care. Staking trees may be necessary in windy areas during winter planting to provide stability and alleviate stress on the new roots.
Evergreens, especially multi-stemmed varieties, are susceptible to damage from the weight of snow in cold weather. To prevent this damage, you can:
• Employ structural supports or protective covers
• Gently brush off the snow from tree branches with upward movements to avoid limb breakage
• Carefully remove ice using a hose connected to hot water
These measures will help protect your winter trees, especially evergreens, during the winter season.
The Art of Winter Transplanting
While new tree planting is widespread, winter transplantation of existing trees also holds significance in the field of horticulture. This process requires careful handling of bare root trees, proper planting techniques, and avoiding common mistakes.
Transplanting can be an excellent opportunity to relocate a tree to a more suitable spot, improve landscape aesthetics, or give a struggling tree a second chance in a more favorable environment.

Bare Root Trees and Handling
Bare root trees are a popular choice for winter transplanting. Due to their affordability and ease of handling, they can be an excellent option for gardeners on a budget or those looking to transplant multiple trees.
Planting bare-root trees in winter allows them to establish their roots before the onset of the growing season, leading to better acclimation. Furthermore, winter and spring rains can provide natural irrigation that aids in the establishment of newly planted trees, especially bare-root ones.
Avoiding Common Mistakes
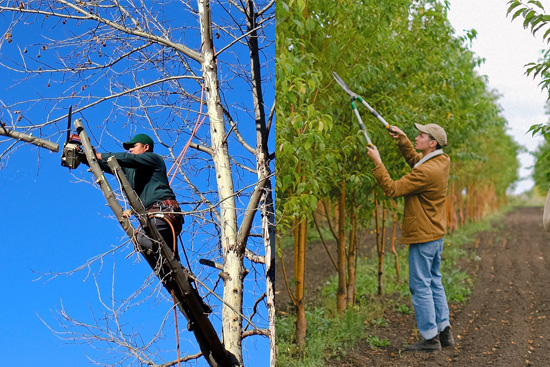
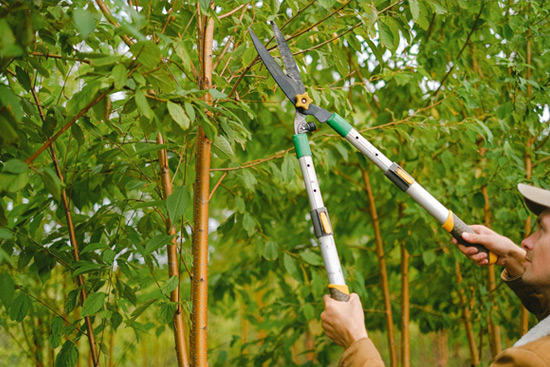
Avoiding common mistakes during winter transplanting can significantly increase the success of your newly relocated trees. It’s important to note that pruning should not be done when transplanting a sapling unless there is damage that needs to be addressed.
Proper transplantation involves:
1. Digging a hole large enough to accommodate the full extension of the root system and placing it at the same depth it was growing in before.
2. After transplanting, the sapling should be watered thoroughly to help settle the soil around the roots.
3. Staking can aid the tree’s stability during windy winter conditions, but regular checks are required to prevent damage to the stem, and it should be removed when the tree is strong enough to stand on its own.
Planning Ahead: The Role of Fall Planting
Despite the emphasis of this article being on winter tree planting, the role of fall planting in ground preparation and root establishment prior to winter is noteworthy. Fall planting is strategic for winter tree planting success, allowing for adequate soil preparation and time for roots to establish before winter freezes.
Warm soil temperatures and moderate weather during fall provide ideal conditions for tree planting. The comfortable tree planting experience in fall minimizes tree stress, encouraging successful root establishment. Proper root development in the fall ensures trees are well-positioned for growth with the onset of spring.
Preparing the Ground
Preparing the ground for winter planting involves:
• Removing rocks, weeds, or debris
• Ensuring the soil is loose enough to foster root growth
• Adding soil amendments to enhance soil nutrients and promote healthy plant growth.
After amending the soil, follow these steps to prepare it for planting:
1. Rake the soil flat to create a smooth surface.
2. Water the soil thoroughly to settle it and disperse nutrients.
3. Check the texture of the soil – it should be moist.
4. Check the color of the soil – it should be dark.
Once the soil meets these criteria, it is ready for planting.

Establishing Roots Before Freeze
Ensuring roots are established before heavy frosts is vital for the longevity and health of trees and shrubs.
Plants and trees typically need 6 to 8 weeks to establish their roots before facing a hard freeze to ensure their survival during cold weather. Ensuring plants have sufficient time to establish themselves before freezing conditions is vital for their longevity and health.
Winter Planting Myths Debunked
Like any subject, winter tree planting has its own set of common misconceptions. Let’s debunk some of these common misconceptions.
Contrary to popular belief, cherry trees, and other flowering ornamentals are resistant to cold conditions and can generally tolerate cold snaps if temperatures remain above 26-27 degrees Fahrenheit. Additionally, proper tree care, such as:
• wrapping tree trunks with crepe paper tree wrap or white plastic guards
• providing a layer of mulch around the base of the tree
• watering the tree deeply before the ground freezes
• avoiding pruning in the fall
can prevent sunscald and other winter damage to new plantings.
Winter Tree Planting Summary
Planting trees during winter is not only possible but can offer a unique set of benefits. With careful planning, selecting suitable tree species, and understanding the dormancy of deciduous trees, winter can be an ideal time to enrich your garden with new life.
Embrace the challenge of winter planting, use the dormant months to your advantage, and see your garden come to life in spring. You may just discover that winter, often seen as a dormant period, can be a season of growth and renewal in your garden.
Winter Planting Frequently Asked Questions
Can I plant trees during winter?
Yes, with careful planning and selecting suitable tree species, winter tree planting can be successful. It’s important to consider the timing and appropriate tree species.
Are deciduous trees suitable for winter planting?
Yes, deciduous trees are suitable for winter planting because they enter dormancy and focus on root development, which is ideal for this time of year.
What are some considerations when planting evergreen trees in winter?
Consider planting evergreen trees in winter only in areas without soil freezing conditions to allow them time to establish roots before the ground freezes.
Are there any specific tree species recommended for winter planting?
Yes, cold-hardy deciduous trees like oaks and maples are recommended for winter planting due to their resilience and dormancy. These species can better withstand the stress of winter planting.
How can I protect newly planted trees during winter?
To protect newly planted trees during winter, make sure to mulch and water them and shield them from harsh winter conditions like wind and snow. This will help prevent damage and support the trees’ successful growth.
This article was first published on: https://www.72tree.com/can-you-plant-a-tree-in-winter/